
Purpose
When no Change Requests exists, the Part Owner needs to create a Change Order in order to move the Part through the next Stage of the lifecycle (in this case, for activation). A Planned Change Order is the one that goes through Impact Assessment, Plan, Implementation, Pre-Release and Post Implementation based on policy.
Prerequisites
Installation Package: CQ Core, CQ PLM Extension
Product: ProductQuest
Function: Standard Parts
User Profile: Standard User
Permissions: CQ Base User PSG and CQ PLM Creator PSG and CQ Design Owner PSG
Steps
-
From the App Launcher, search for the Change Order to open the tab or select the Change Order tab if displayed; if not displayed, click the More tab and then select the Change Order.
-
From the Change Order tab, select + New Change Order from the drop-down arrow or click the New button.
-
Select a Record Type: Planned Change. Then click Next.
-
See Planned Change for more information on
-
Creating a Planned Change
-
Initiating a Planned Change
-
Completing a Planned Change Impact Assessment
-
Adding Change Plans
-
Routing Change Plans for Approval
-
Implementing Planned Changes
-
Routing Planned Change Implementation for Approval
-
Releasing Planned Changes
-
Closing a Planned Change
Example
-
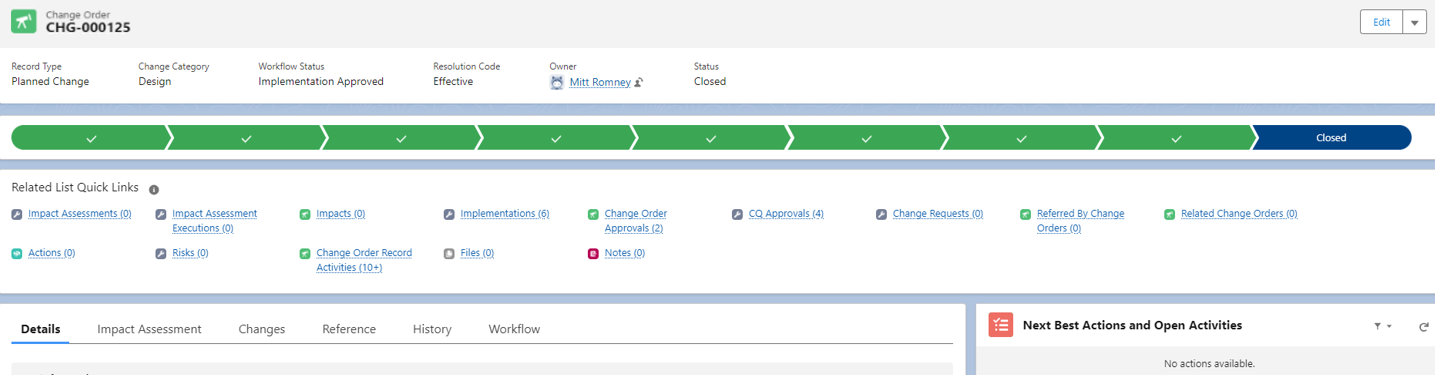
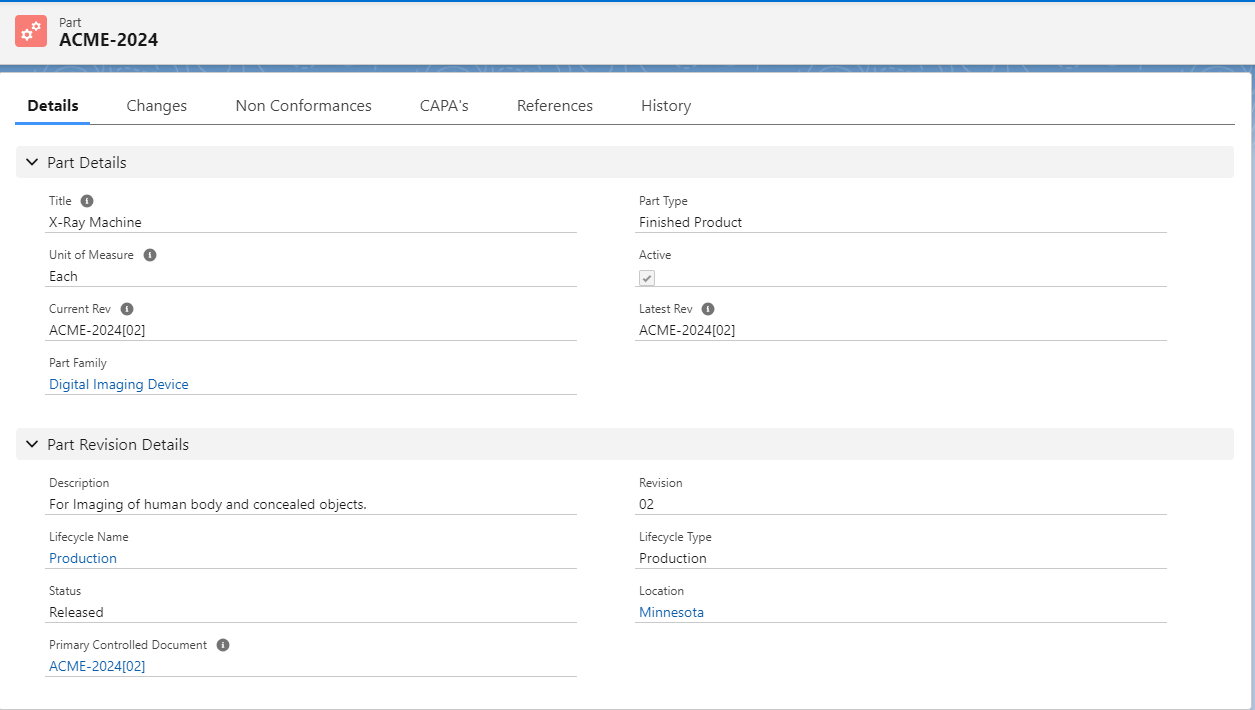
Once the Change Order is Closed, the Part and Part Revision Details are updated appropriately based on the Effective Date in the Change Order as shown below:
Expected Outcome
-
The Status of Part changes to Released.
-
The Active check box is checked i.e. the Part is activated (this means Part is ready for manufacturing and selling in the market for use).
Troubleshooting
-
Check back for new articles
Optional Configurations
-
NA
Additional Resources
ComplianceQuest
-
Adding Part Change: Revision (One Part at a Time)
-
Adding Part Change: Revision (Multiple Parts at a Time)
-
Adding Disposition Assessments
-
Adding Part Change: Alternates
-
Obsoleting an Alternate Part
We Value Your Feedback
To provide feedback or suggestions to improve the help content on this page click here.